Tesla Model Y – Installation of attachment loops (front and rear)
In today’s video we show in detail how to install attachment loops in a Tesla Model Y behind both front seats and also in front passenger seat. Very important as Tesla is pretty much the only car in the world where tether straps can’t be threaded under seat rails. But what exactly are attachment loops? And tether straps? Which cars have attachment loops as standard? Can you use two straps in the same loop? Crash tests? Loops in the video are available here.
In the Nordic countries we often use fantastic rear facing child seats with belt installation which can handle high weight, are Plustested and can withstand incredibly high loads. Some good examples are Axkid Minikid 3/4/4 Pro/4 Max/Movekid, BeSafe Stretch, Klippan Opti 129 and Britax Max-Safe Pro/Safe-Way M/Max-Way Plus. These seats use tether straps which are attached under the front seat. The straps are there to hold the car seat in place when it bounces back after a collision. Seats fitted with Isofix don’t use tether straps but an ARB (Anti Rebound Bar). There are advantages and disadvantages with Isofix where the lower weight limit is a huge drawback.
To make life with tether straps quick and easy attachment loops are fitted. Volvo is the only car today with attachment loops as standard, both front and rear. Strong!! Lynck also have loops since the car is based on the XC60. Saab had loops before they went bankrupt. It’s possible to attach tether straps without loops under seat rails in all cars, except Tesla….. Or actually, it’s possible but complicated, impractical and not recommended.
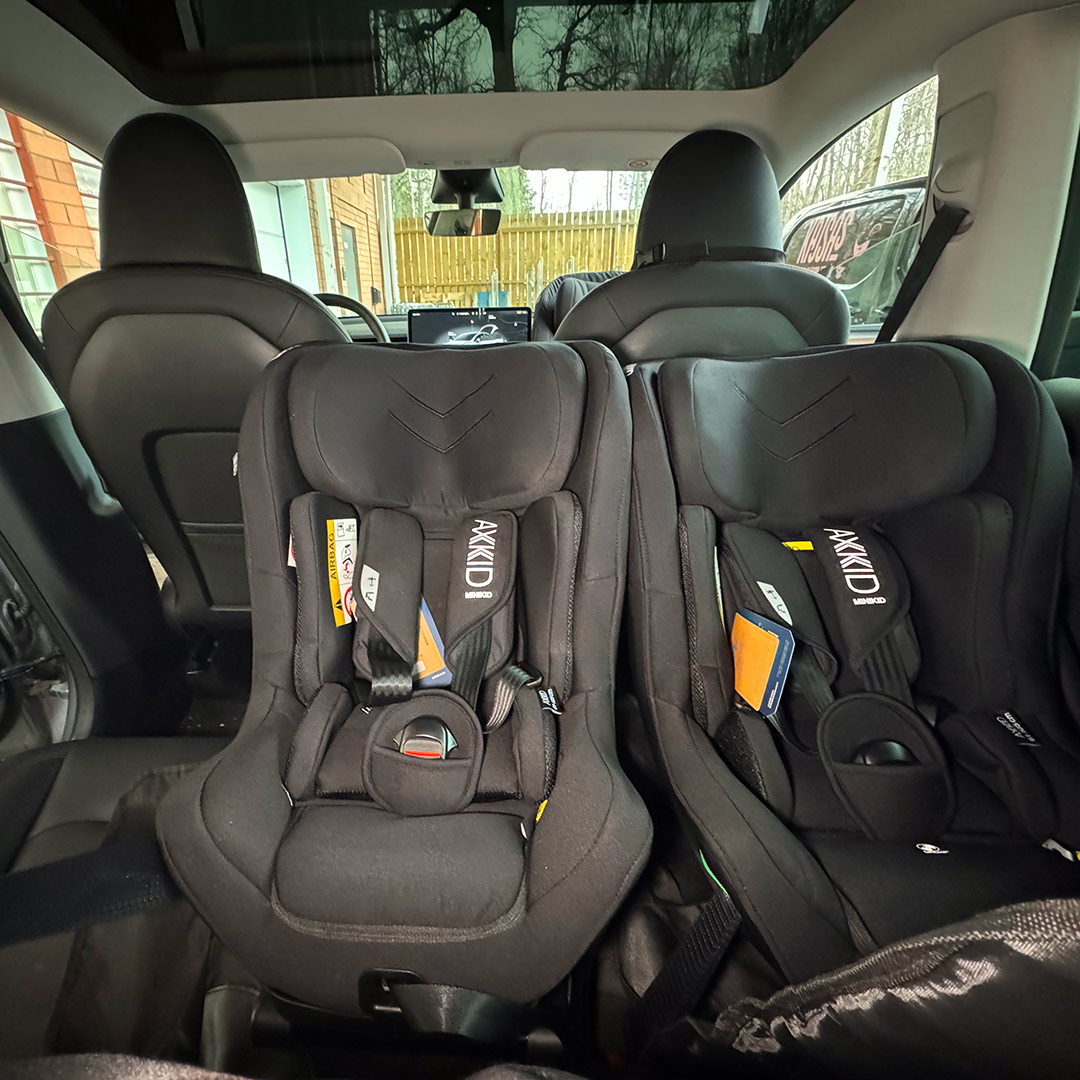
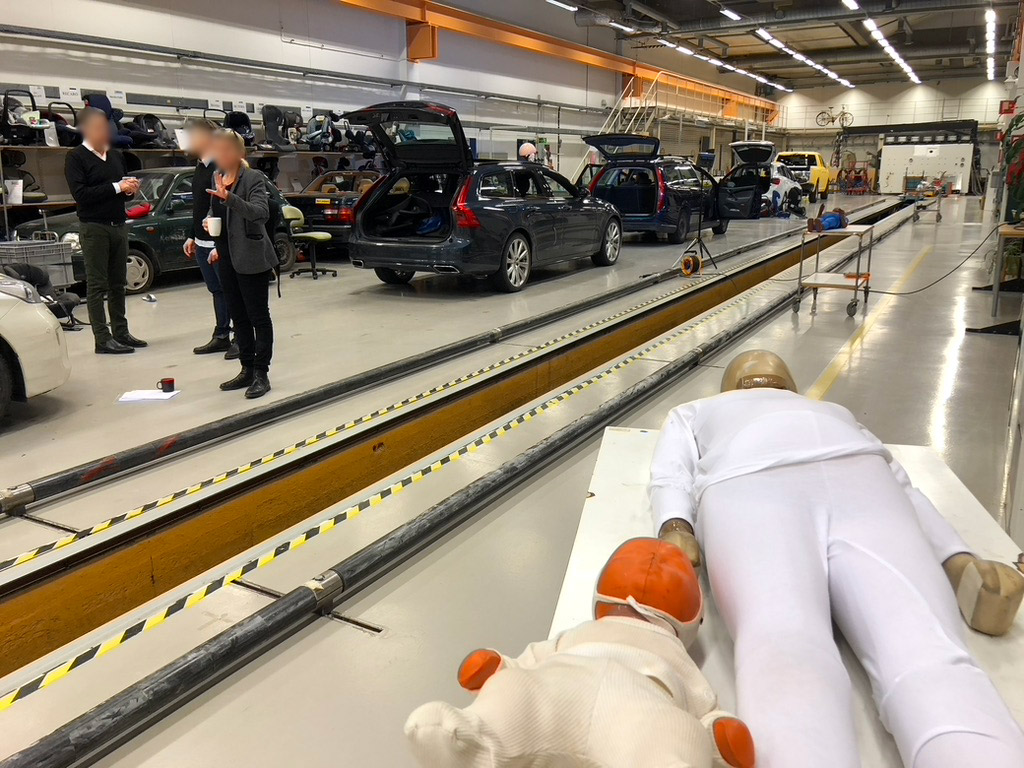
So what to do when two or more rear facing seats are mounted next to each other? How much force can the loops/rails withstand? Parents are unaware, but in many cars you can mount two or more rear facing seats next to each other. Then two seats share the same loop/rail and it works fine. We always mount loops under the rails, except in Tesla, but crash testing is done with loops on top of rail. It’s not as strong and the loops might bend upwards in a collision due to high loads but that’s acceptable. Attachment loops are tested to 5 KN in R129, which means two straps can use one attachment loop.
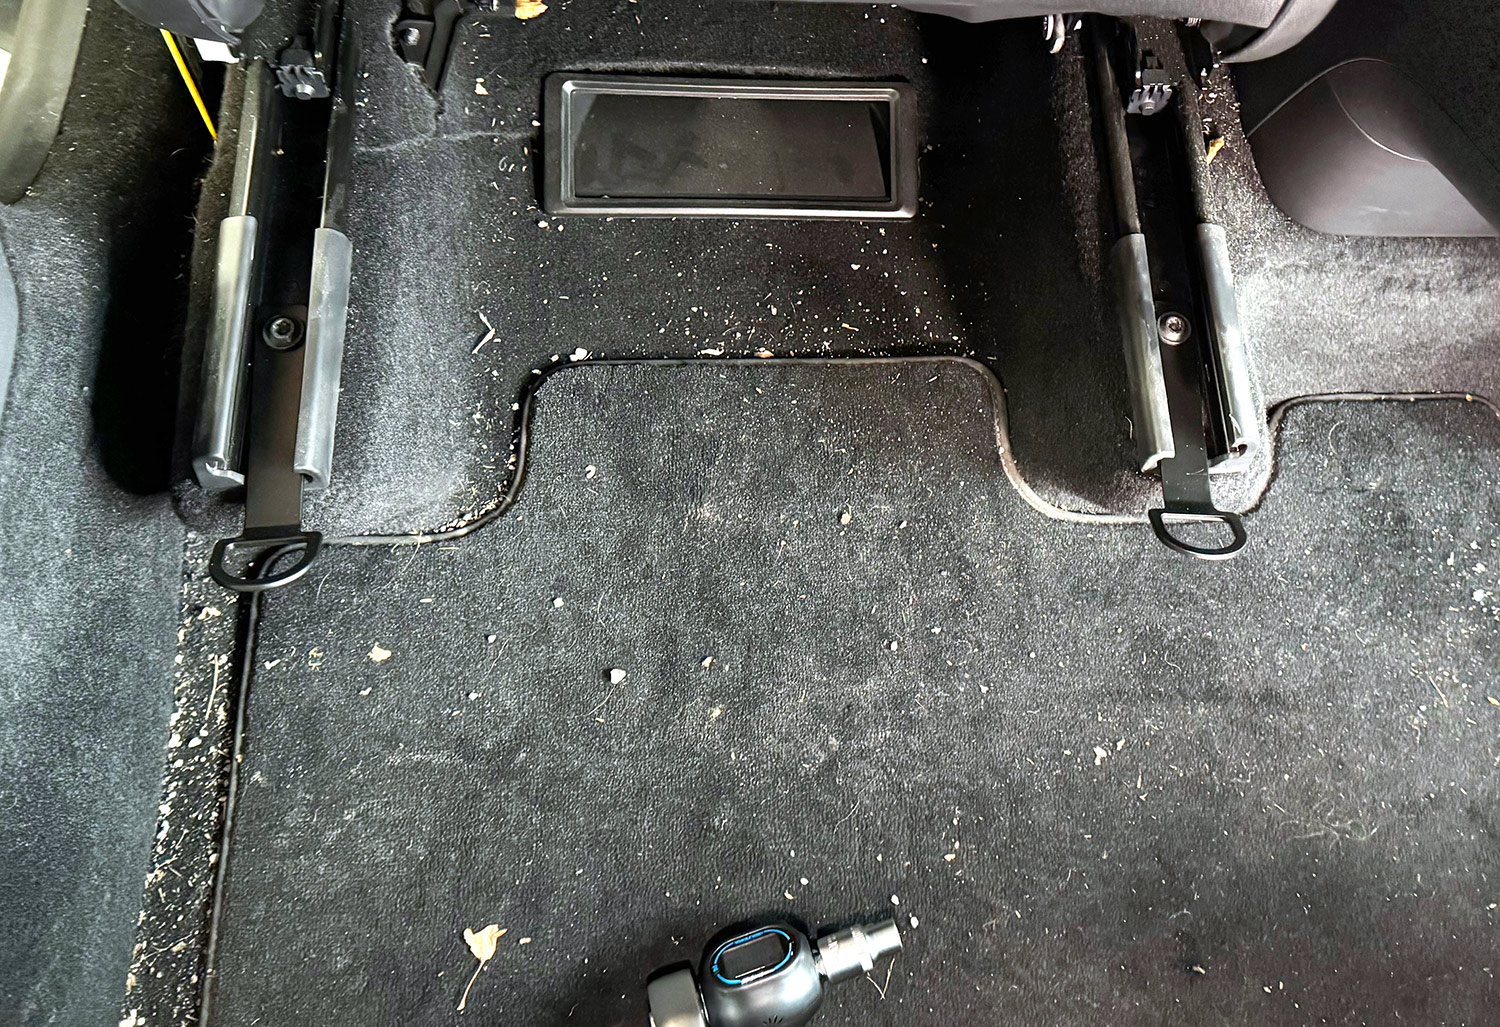
Installation of the loops is simple. These are attached at rear of seat rails, at the very front in passenger seat, and allow vehicle seats to slide back and forth freely while making it very quick to install seats with straps. It’s noteworthy that in Tesla you loose about 5-10 cm of forward movement in the passenger which is rarely relevant.
Which loops should be used? Today’s car is a Tesla Model Y and we always install extra long loops at the rear and long loops at the front. And always on top of seat rails. It’s possible to install loops in most cars but often unnecessary. For example, we never install loops in Kia, Nissan, Ford, Renault, Honda, Toyota, Lexus, Peugeot, Citroen, etc.
The installation consists of four simple steps
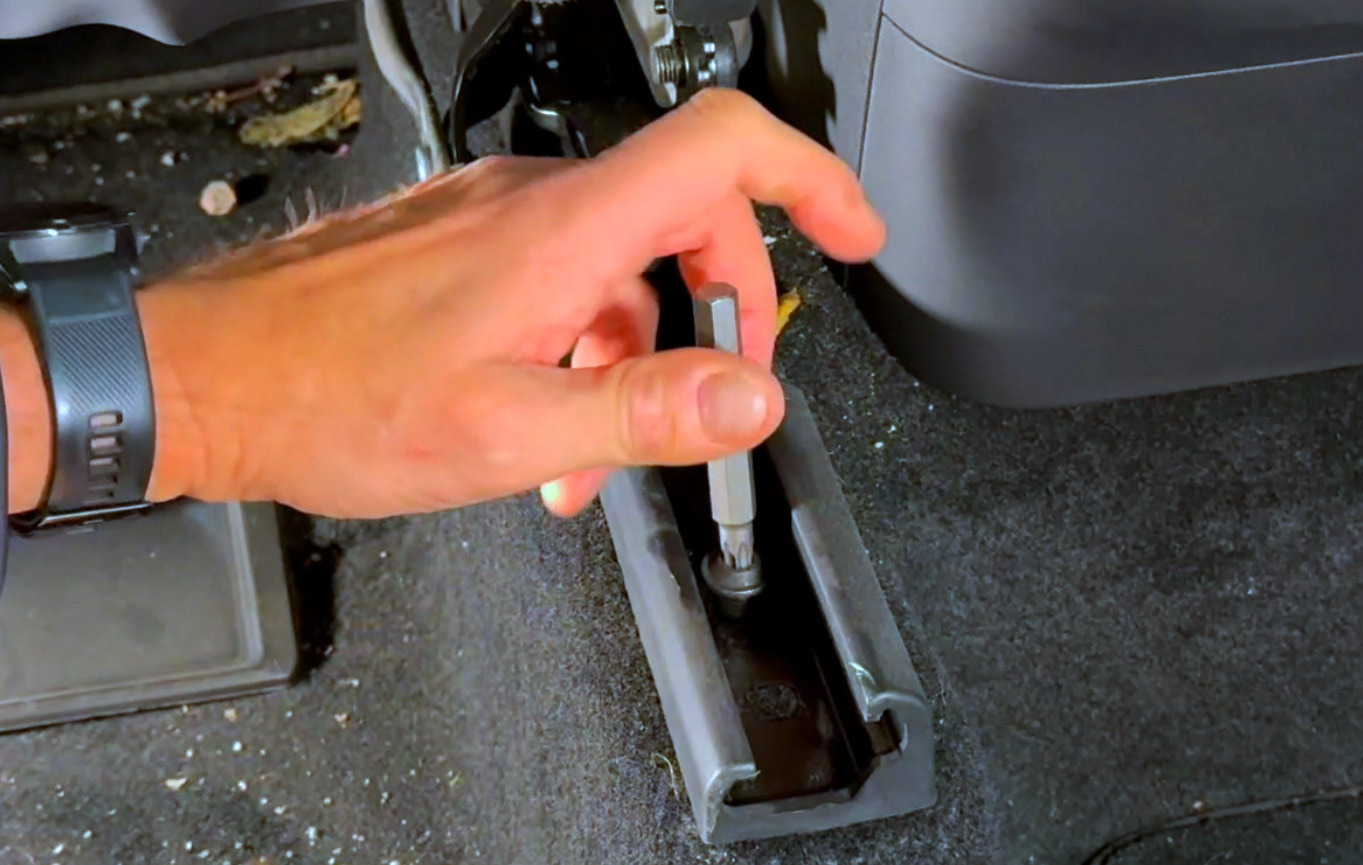
1. Select the correct tool: We have a set of Torx and can handle all cars. It’s important that correct socket is used otherwise the bolt can be damaged. We then use a ratchet handle to loosen and tighten the bolt which requires little force. Even a vegan environmentalist can handle it. When tightening the bolt we use a digital torque wrench for correct force. More on that below.

2. Loosen the bolt: With correct socket the bolt is easily loosened and can quickly be unscrewed by hand.
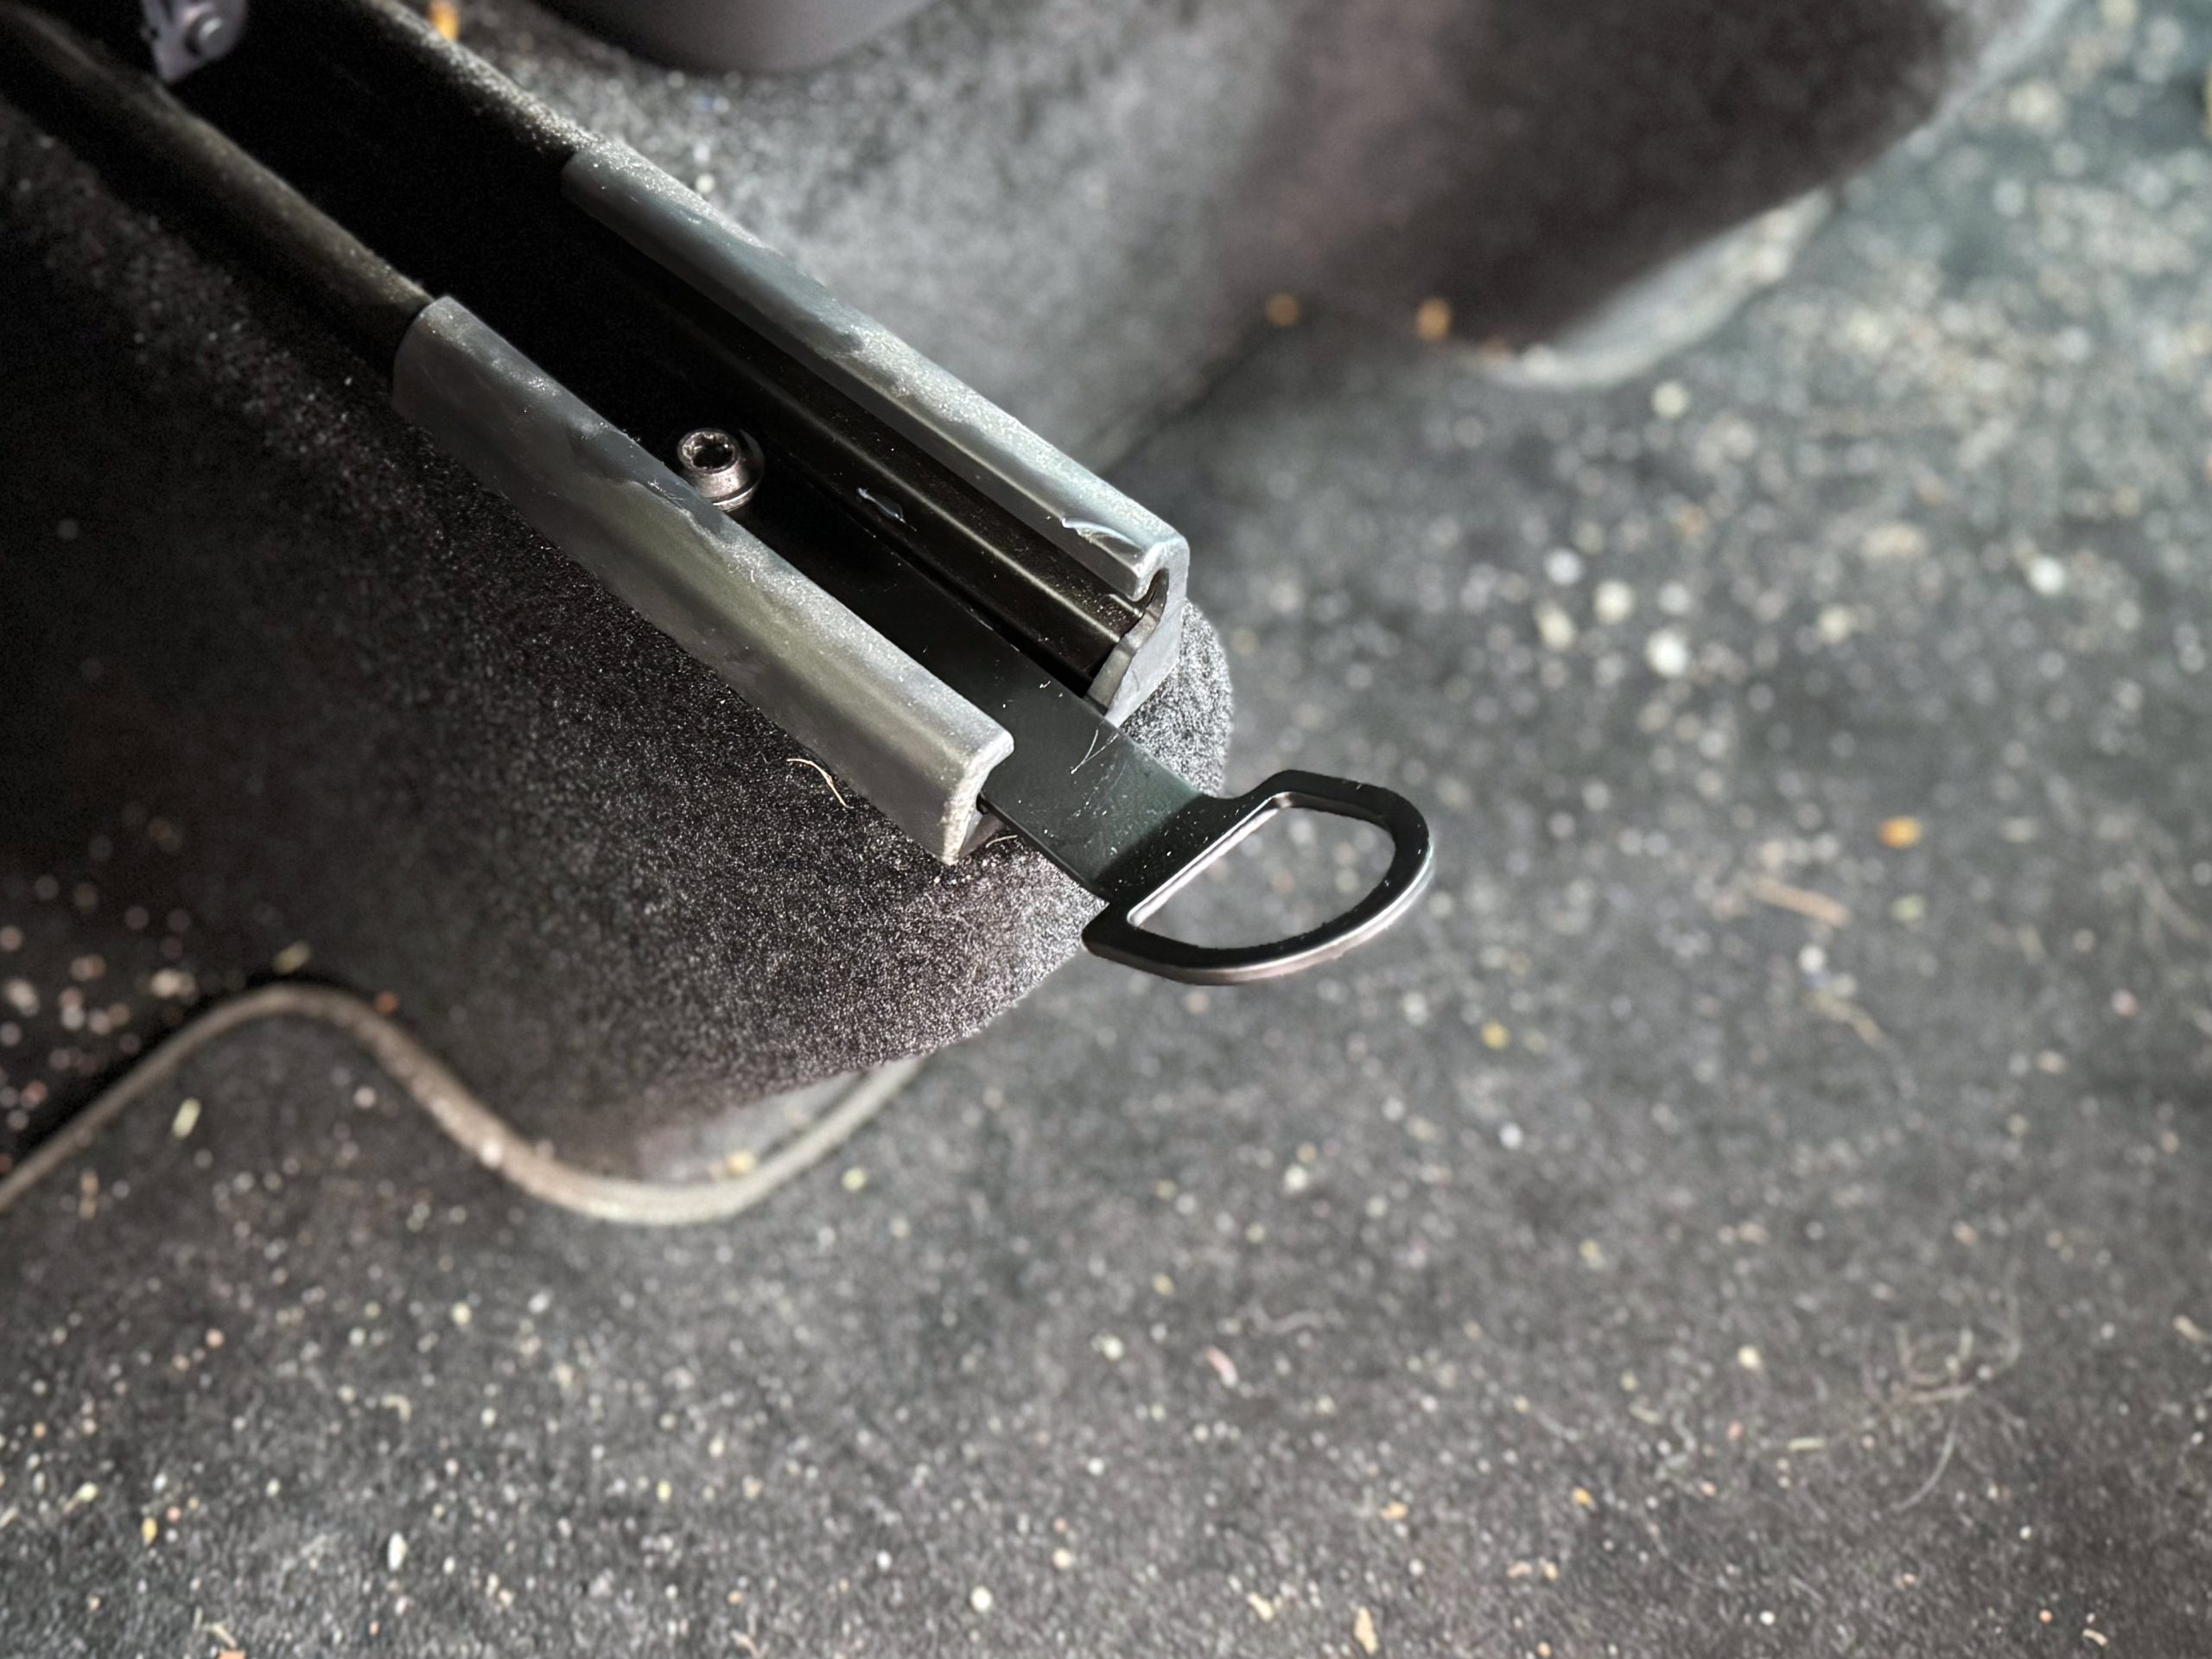
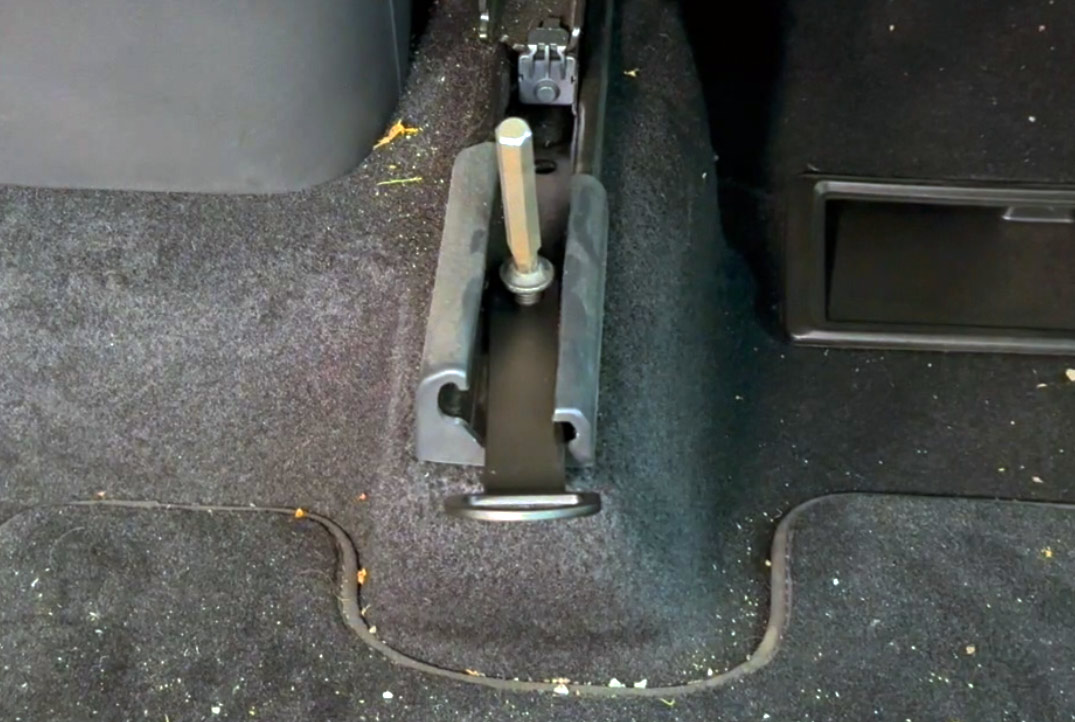
3. Place loop on top of the rail: In Tesla, the loop is placed on top of the rail. In all other cars under the rail.
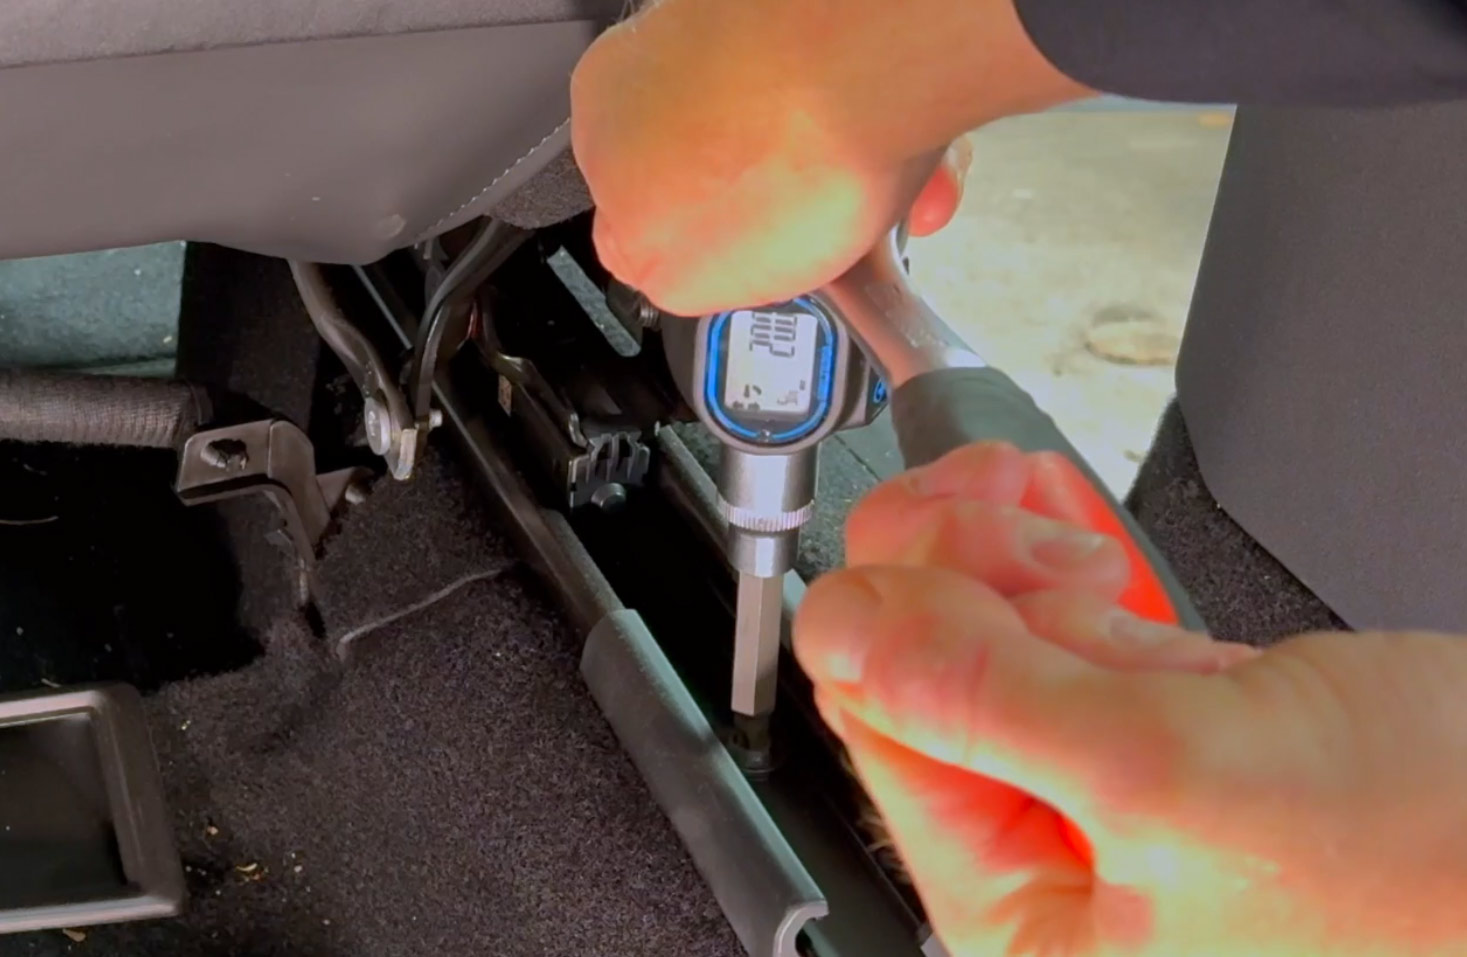
4. Tighten the bolt: First tighten the bolt by hand to make sure it’s in correct position. Then continue and use the ratchet handle. Now we want to tighten the bolt with correct force and a torque meter is then used. We prefer a digital meter but an analog will work equally well. An inexperienced user could theoretically tighten the bolt too loose or so tight that the bolt breaks. When you have serviced motorcycles, snowmobiles, tractors, cars, bicycles, boats, lawnmowers, chainsaws and more you have a pretty good feel of correct force and a torque wrench can feel a bit unnecessary. However, it’s always recommended.
Done! As you can see, installing attachment loops is not rocket science. If you have any questions about loops, installation or anything else, please contact us via email, chat, phone, Instagram or Facebook.